linux安装elasticsearch
下载和解压
在 linux 中选择一个合适的目录,下载 elasticsearch 压缩包
shell
wget https://artifacts.elastic.co/downloads/elasticsearch/elasticsearch-8.12.2-linux-x86_64.tar.gz下载完成之后,解压
shell
tar -zxvf elasticsearch-8.12.2-linux-x86_64.tar.gz设置用户和用户组
elasticsearch 不能用 root用户 启动,需要新增普通用户来启动 elasticsearch
新增用户组
shell
groupadd elastic新增用户
shell
useradd elastic -g elastic设置用户密码
shell
passwd elastic给 elastic 用户设置 sudo 权限
shell
visudo在root ALL=(ALL) ALL一行下面添加elastic ALL=(ALL) ALL
txt
root    ALL=(ALL)       ALL
elastic   ALL=(ALL)       ALL
修改虚拟内存的最大映射数
shell
vim /etc/sysctl.conf在最后一行加上
ini
vm.max_map_count=262144使虚拟内存配置立即生效
shell
sysctl -p配置 elasticsearch
修改 elasticsearch-8.12.2 目录的用户和用户组,elasticsearch 不能用 root 用户来启动
shell
chown -R elastic:elastic elasticsearch-8.12.2进入到解压缩后的目录里面
shell
cd elasticsearch-8.12.2在 config 目录下面的 jvm.options 文件里面修改内存的配置
txt
-Xms4g
-Xmx4g
在 elasticsearch.yml 文件中取消以下配置的注释:
yml
cluster.name: my-application
node.name: node-1
network.host: 0.0.0.0
http.port: 9200
cluster.initial_master_nodes: ["node-1"]
安全配置
先切换用户,执行
shell
su elastic切换到 elastic 用户
1. 创建一个证书颁发机构
shell
./bin/elasticsearch-certutil ca- 提示 Please enter the desired output file [elastic-stack-ca.p12]:直接回车,会默认生成一个文件名为 elastic-stack-ca.p12 的文件
- 提示 Enter password for elastic-stack-ca.p12:输入密码
2. 为节点生成证书和私钥
shell
./bin/elasticsearch-certutil cert --ca elastic-stack-ca.p12- 提示 Enter password for CA (elastic-stack-ca.p12) 输入第一步设置的 elastic-stack-ca.p12 文件的密码
- 提示 Please enter the desired output file [elastic-certificates.p12] 直接回车,会默认生成一个文件名为 elastic-certificates.p12 的文件
- 提示 Enter password for elastic-certificates.p12 输入密码
3. 将文件可拷贝到certs目录下
shell
mkdir config/certsshell
mv elastic-certificates.p12 config/certs/4. 给keystore和truststore设置密码
shell
./bin/elasticsearch-keystore add xpack.security.transport.ssl.keystore.secure_password- 提示 The elasticsearch keystore does not exist. Do you want to create it? [y/N] 输入y
- 提示 Enter value for xpack.security.transport.ssl.keystore.secure_password: 输入密码
shell
./bin/elasticsearch-keystore add xpack.security.transport.ssl.truststore.secure_passwordshell
./bin/elasticsearch-keystore add xpack.security.http.ssl.keystore.secure_password- 提示 Enter value for xpack.security.transport.ssl.truststore.secure_password 输入密码
shell
./bin/elasticsearch-keystore add xpack.security.http.ssl.truststore.secure_password- 提示 Enter value for xpack.security.http.ssl.truststore.secure_password 输入密码
5. 修改配置文件并重启
配置文件中加入以下配置,然后重启
yml
xpack.security.enabled: true
xpack.security.http.ssl:
  enabled: false
  verification_mode: certificate
  truststore.path: certs/elastic-certificates.p12
  keystore.path: certs/elastic-certificates.p12

xpack.security.transport.ssl:
  enabled: true
  verification_mode: certificate
  keystore.path: certs/elastic-certificates.p12
  truststore.path: certs/elastic-certificates.p12
6. 创建用户密码
启动后,就可以设置账号密码了
- 自动创建密码,会自动生成 elastic ,kibana_system 等用户的密码
shell
./bin/elasticsearch-setup-passwords auto- 手动输入密码
shell
./bin/elasticsearch-setup-passwords interactive提示 Please confirm that you would like to continue [y/N] 输入y,然后按照要求输入密码
- 重置 elastic 用户的密码,密码随机
shell
./bin/elasticsearch-reset-password -u elastic- 重置 elastic 用户的密码,-i 后面是指定的密码
shell
./bin/elasticsearch-reset-password -u elastic -i <password>访问测试
1. curl访问
shell
curl localhost:9200 -u elastic:xxxelastic 是用户名,xxx 是密码
- 测试返回
json
{
  "name" : "node-1",
  "cluster_name" : "my-application",
  "cluster_uuid" : "AI4GCa3zTw-Rsl76Vi4osA",
  "version" : {
    "number" : "8.12.2",
    "build_flavor" : "default",
    "build_type" : "tar",
    "build_hash" : "48a287ab9497e852de30327444b0809e55d46466",
    "build_date" : "2024-02-19T10:04:32.774273190Z",
    "build_snapshot" : false,
    "lucene_version" : "9.9.2",
    "minimum_wire_compatibility_version" : "7.17.0",
    "minimum_index_compatibility_version" : "7.0.0"
  },
  "tagline" : "You Know, for Search"
}
2. 浏览器访问
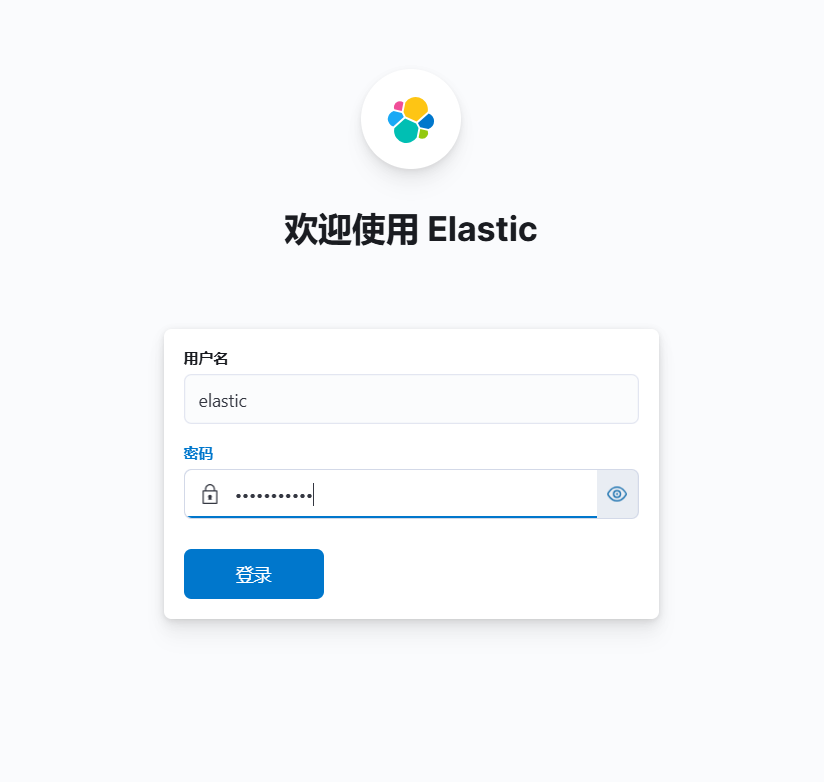
浏览器登录

测试返回
json
{
  "name" : "node-1",
  "cluster_name" : "my-application",
  "cluster_uuid" : "AI4GCa3zTw-Rsl76Vi4osA",
  "version" : {
    "number" : "8.12.2",
    "build_flavor" : "default",
    "build_type" : "tar",
    "build_hash" : "48a287ab9497e852de30327444b0809e55d46466",
    "build_date" : "2024-02-19T10:04:32.774273190Z",
    "build_snapshot" : false,
    "lucene_version" : "9.9.2",
    "minimum_wire_compatibility_version" : "7.17.0",
    "minimum_index_compatibility_version" : "7.0.0"
  },
  "tagline" : "You Know, for Search"
}
3. kibana访问
kibana 登录
测试返回
